Monday, September 16, 2013

Daddy's birthday

So my father is one of the most difficult people ever to shop for, because if he ever needs or wants anything, he just buys it for himself.  He is also a very practical man that doesn't like watches, doesn't wear ties anymore, and will wear shoes until they have holes, even though he could easily afford new ones.  
There is a basic formula that has seemed to work throughout the years.  It is "buy gator shit."  He went to the University of Florida for undergrad and a year of his masters (he was offered a job before he finished his masters and has been with the company ever since).  So he literally has all the artwork, memorabilia, and polos that UF has to offer.  We are always trying to buy him something different and end up resorting to the UF formula.  This year, I decided to make him some things. 

I know this isn't the most beautiful thing in the world, but in my defense I had drank a lot of wine while doing it.  I made it at a "paint your own" pottery place called All Fired Up in Winter Park because I had some expiring Groupons.  Now, this glorious place not only ALWAYS has a groupon but there is no time limit and there is a BYOB rule.  They have it figured out, drunk people spend more money than sober people.  

A spoon holder thingy for the stove.   He calls himself "Chef Pierre," when cooking.


Then I found a great set of beer glasses for the appropriate beer type at Bed Bath and Beyond.  I bought some glass acrylic paint in, surprise surprise, gator colors to personalize them for him.  


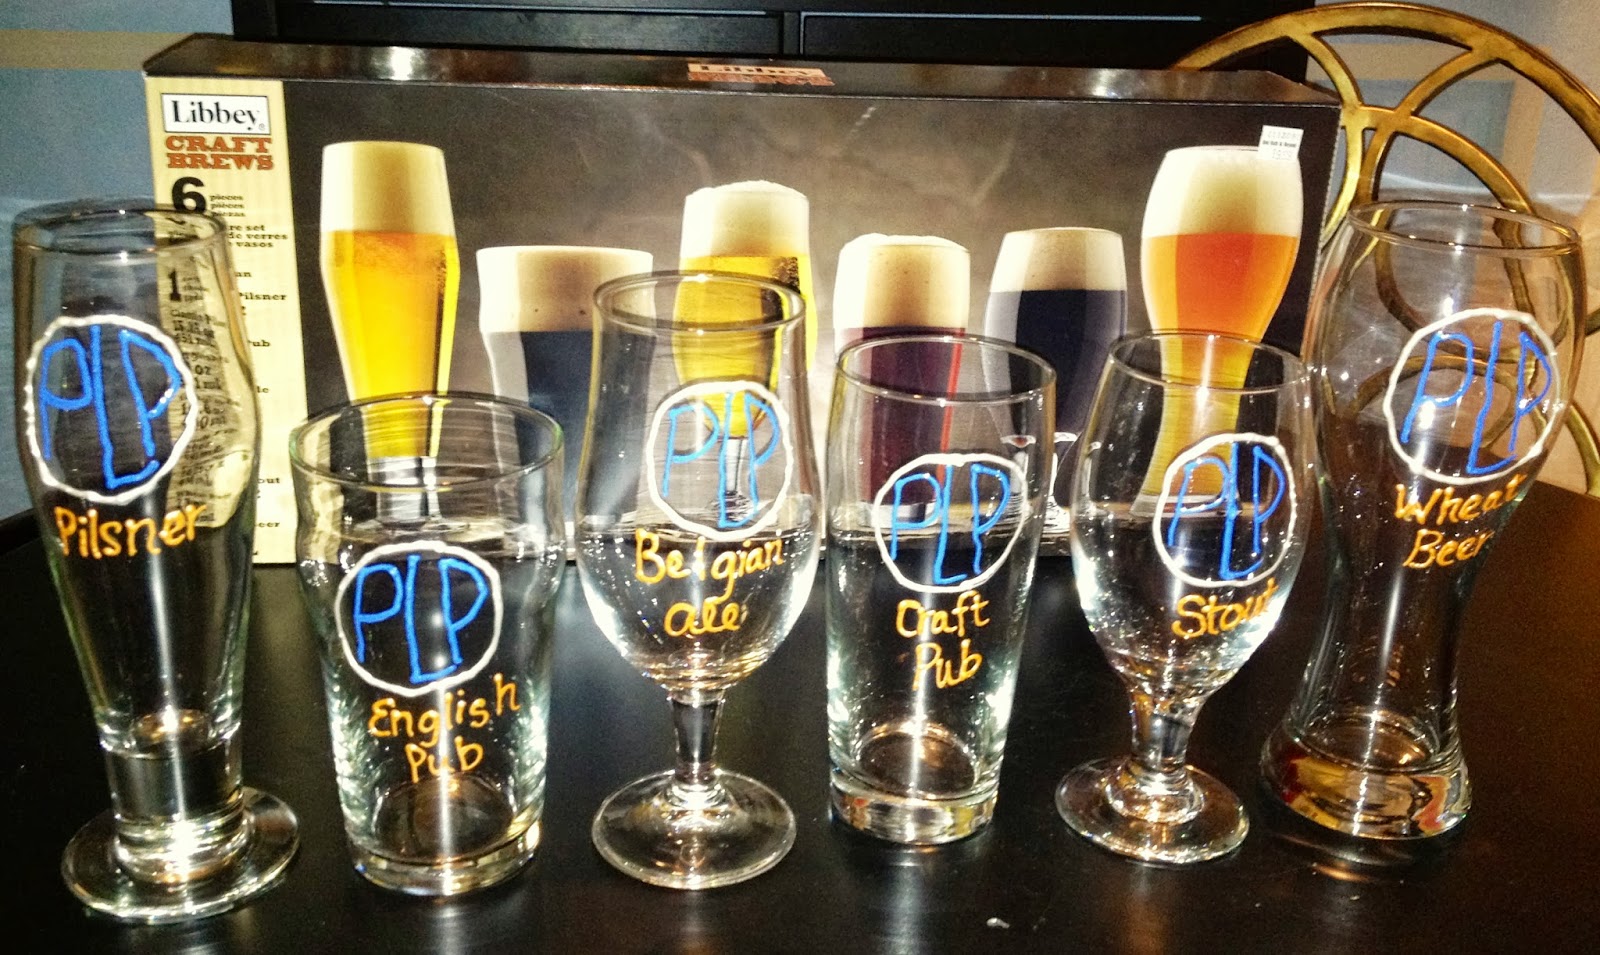
Finished product!

I also spent the time to go to Whole foods and have the beer guy there and built a 6 pack of each beer so he could use the glasses... of course he likes his beer cold and didn't end up using the dang glasses...  

Thursday, September 12, 2013

Upgraded Holder for my Jewels

So I upgraded my previous Jewelry Holder, which I would like to point out was made over 2 1/2 years ago.... 

Michael's had 50% off all frames & I became helpless!  Granted, I just moved and when I realized I could not put that lovely poster frame jewelry holder ANYWHERE that could be hidden, I had already kinda decided in my head it needed a facelift, or something. I mean I attached it with wire and didn't even think to know the MAJESTY of a big & tough staple gun yet(from Home Depot, not that elementary school wussy shit).  Here is the Jewelry Holder 2.0.


1.0, You were great.  It's me, not you.

I saw a design show one time in which the designer, Martyn Lawerence-Bullard redesigned a living room space using high heels & purses as part of the "art," in the room on the bookshelf.  Now, the "living room,"  was part of a $20 million apartment in NYC, the bookshelf was a custom piece and the "shoes," were Jimmy Choo spattered with gold paint.  Clearly, I am on a different budget PLANET.


Regardless, I decided with all my jewels, I could kill 2 mosquitos with one swatter (I don't like hurting animals and don't consider mosquitos living things...more like demons).  


"I will make an efficient way to see all my jewelry & make it blend in as art to the rest of my wall decor."


Ingredients
Frame (whatever size you need, mine was 2'x3')
Poultry Wire (make sure the width is at least as long as the frame)
Wire cutters
Staple Gun
1/2" staples
Straight Wire
S Hooks (I used 1 1/2")

The Poultry Wire adds a nice geometric pattern to the wire where there is not anything in front of it.  The wire (teeny tiny little rectangles) I used before ended up looking really busy and not as "luxurious."  

First, put a towel or something down, if you have hard floors, so you do not scratch the frame.  Roll out the Poultry Wire and temporarily mount it to the frame with the straight wire you bought.  Cut off the excess, making sure to leave room for error.


Keep in mind, if there is a long line in the PW like there was in mine, line it up so it is in the middle of the frame and temporarily attach it.  You will need to pull it and manipulate it the whole time pretty much to get it right.  If you aren't a Type A psychopath, you can just attach it where your little heart sees fit.  

The temporary attaching phase.

Once the PW is exactly where you want it, get your staple out and get to work!  Keep the wire on the whole time, so the PW stays in place until the whole thing is securely fastened down.  Remember, don't be too impulsive with the gun... staples are a real pain in the ass to get out of it is off in the slightest. 


Some of the staples were already there...I did go a little nuts with my new staple gun though.

I found it easiest to match up the line in my Stanley staple gun to the PW in order to make it straight every time! #typeA


Gorgeous.

When everything is COMPLETELY securely fastened, take your wire cutters and cut off excess as well as jagged pieces that will stab you.  And believe me they will.  That way when you take it down in a year or more, you won't remember the hard way you were over eager to hang it up.


Once you have secured all the PW, take the wire off! 

 It is now ready to be mounted and jewels to be adorned on it!  Use the S Hooks to hold up necklaces, bracelets, hoops (bigger the hoop, bigger the HOOOOOO)  and rings!


Marvel at your creation...again!